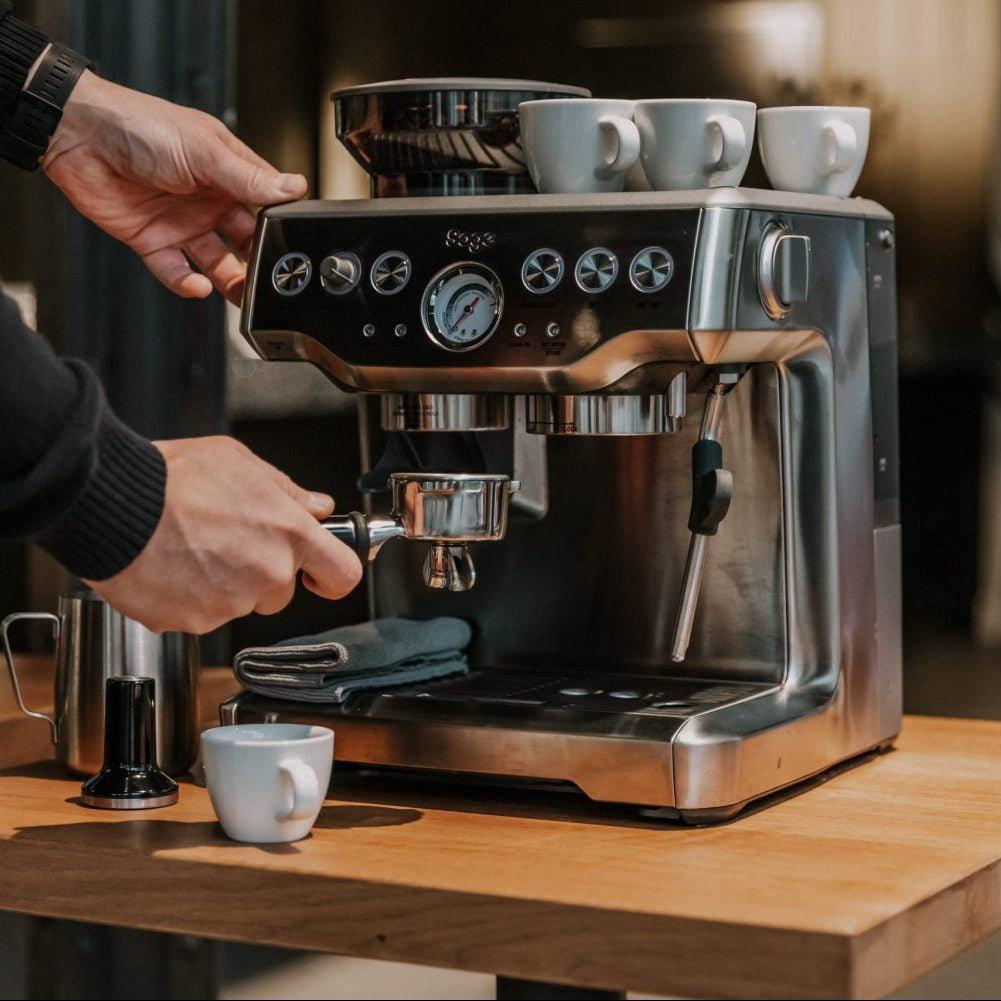
How to Change the Brew Temperature on Breville/Sage Barista Express
Enhancing Your Espresso Experience: The Importance of Temperature
Why Temperature Control Matters in Brewing Espresso
As a dedicated coffee enthusiast, I’ve learned that brewing the perfect espresso is an art form that hinges on precision. Each detail, from grind size to water pressure, contributes to the final result, but one element that is often underestimated is brew temperature. When I first started using my Breville (known as Sage in the UK) Barista Express, I was excited by the professional control it provided. However, it wasn’t until I started fine-tuning the brew temperature that I truly unlocked the machine’s potential to enhance flavor.
If you're eager to adjust the brew temperature on your Breville/Sage Barista Express, this guide will walk you through the steps. Whether you're dialing in different roast profiles or compensating for altitude, temperature adjustments can make all the difference in your espresso.

Why Temperature is Crucial for Espresso
The Role of Temperature in Flavor Extraction
While grind size and extraction pressure are frequently prioritized, the brew temperature is just as critical in crafting a perfect espresso shot. During my time with the Breville/Sage Barista Express, I discovered that tweaking the temperature can dramatically influence flavor.
In this guide, I’ll explain how you can harness your machine’s temperature settings to better suit various roast types. Whether you’re working with a light or dark roast, mastering temperature control can elevate your coffee experience and unlock flavors you may not have tasted before.
Understanding Your Barista Express
Key Features of the Machine
The Breville/Sage Barista Express is a semi-automatic espresso machine designed to balance ease of use with customizable features. One standout element of the machine is its internal PID (Proportional-Integral-Derivative) controller, which maintains a stable brew temperature. Many users don’t realize that the machine allows manual temperature adjustments without the need for external tools.
Even though there’s no visible temperature dial, Breville/Sage has discreetly embedded this feature into the machine’s settings. Here's how you can access and adjust it.

Step-by-Step Guide to Adjusting the Brew Temperature
1. Turn Off the Machine
Before making any adjustments, ensure the machine is completely powered off. This ensures the heating element is inactive during the changes. Press the power button to switch off the machine.
2. Activate Programming Mode
To adjust the brew temperature, you must first enter programming mode. Press and hold the ‘Program’ button while simultaneously pressing the ‘Power’ button. Keep holding the ‘Program’ button until the front panel lights start flashing, signaling that you’re now in programming mode.
3. Choose Your Temperature Setting
Once you're in programming mode, use the ‘Single Shot,’ ‘Double Shot,’ and ‘Filter Size’ buttons to control the temperature:
- Single Shot Button: Lowers the brew temperature by 2°F (1°C).
- Double Shot Button: Increases the brew temperature by 2°F (1°C).
- Filter Size Button: Resets the temperature to the default setting of 200°F (93°C).
The machine’s LED lights will indicate the current temperature:
- Both '1 Cup' and '2 Cup' lights on: Default temperature of 200°F (93°C).
- '1 Cup' light on: Temperature reduced to 198°F (92°C).
- '2 Cup' light on: Temperature increased to 202°F (94°C).
4. Adjust the Temperature According to Your Preferences
Now that you understand how to adjust the temperature, it’s time to experiment. Use the Single Shot or Double Shot button to tweak the temperature in 2°F (1°C) increments based on your preferences.
For example, when working with light roasts, I often increase the temperature slightly to accentuate their bright, fruity characteristics. For darker roasts, I tend to lower the temperature to highlight sweetness and minimize bitterness.
5. Save Your New Temperature Settings
Once you’ve set your preferred temperature, press the ‘Program’ button to save it and exit programming mode. The machine will briefly power off and restart with the new temperature settings.
6. Test Your Espresso
After adjusting the temperature, pull a shot and assess the flavor. Pay attention to both the extraction time and taste profile. If the results aren’t perfect, repeat the process and fine-tune until the espresso meets your expectations. It may take a few tries, but the improvement in your espresso will be noticeable.
Troubleshooting and Additional Tips
Common Problems and Solutions
While adjusting the brew temperature on your Barista Express is straightforward, a few issues can arise:
- Temperature Changes Aren’t Working: Make sure you're fully in programming mode (indicated by flashing lights) before making adjustments.
- Flavor Still Off: If temperature adjustments alone don’t fix the issue, consider modifying other variables such as grind size, tamping pressure, or the freshness of your coffee beans. These factors also affect flavor.
- Frequent Adjustments Required: If you frequently switch between different beans or roast levels, be ready to adjust the temperature more often. Lighter roasts typically benefit from higher temperatures, while darker roasts often shine at lower temperatures.
Conclusion: Maximize Your Espresso’s Potential with Temperature Control
Unlocking the Full Potential of Your Breville/Sage Barista Express
Mastering the brew temperature on your Breville/Sage Barista Express allows you to elevate your espresso-making skills to new heights. This feature gives you the flexibility to tailor your espresso based on the specific characteristics of each coffee bean, leading to a more refined and well-balanced shot.
Since I began fine-tuning my brew temperature, I’ve noticed significant improvements in the depth, complexity, and richness of my espresso. If you haven’t yet experimented with this feature, I highly recommend giving it a try. A slight tweak in temperature might just transform your coffee into something extraordinary.
